In this article you will learn how to start using ChannelAdvisor together with your Webinterpret account.
Topics in this article:
Synchronizing ChannelAdvisor with your Webinterpret account
In order for your incoming sales from International listings to be visible and manageable from your ChannelAdvisor interface, we need to synchronize your account using your ChannelAdvisor Seller Profile ID and confirming this ID within your Webinterpret Dashboard.
Below, we provide a guide to help you locate this ID and insert it in your Dashboard to provide the necessary synchronization:
1. You locate the ID by following this path:
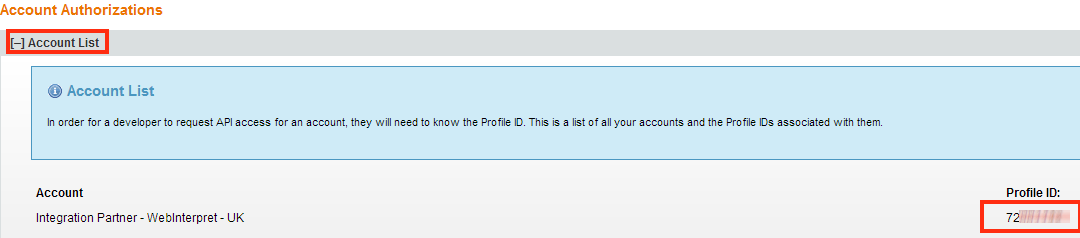
My Account ->Developer Network ->Account Authorizations (all found on your ChannelAdvisor interface):

2. The profile ID that we require for synchronization is found by clicking on Account List and in the right lower corner, will be your Profile ID confirmed.
3. Once you have confirmed your Profile ID, proceed to your Webinterpret Dashboard, login and click on Settings and then Third Party Tools:
4. Now you will see all the available Third Party tools listed in alphabetical order. Find ChannelAdvisor, click on the Enable button next to application name and an additional field will appear requesting the aforementioned Profile ID. Enter the ID in the required field.
5. Now simply confirm by proceeding to the foot of the page and clicking Save.
6. The final step is again within ChannelAdvisor interface. Proceed to Account Authorizations and Enable the synchronization between Webinterpret and your Channel Advisor account. Once done you will see the synchronization is now Enabled, as per below:
7. And now your Channel Advisor and Webinterpret synchronzation is confirmed.